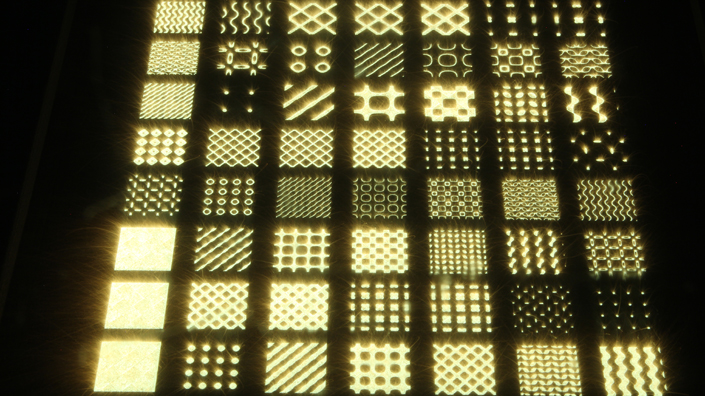
A piece of metal rises layer by layer in a bewitching pattern of tiny glowing and sparking shapes, each a few millimetres across. Peering through the glass at the process known as ‘selective laser melting’ is mesmerising, like watching fireworks in miniature.
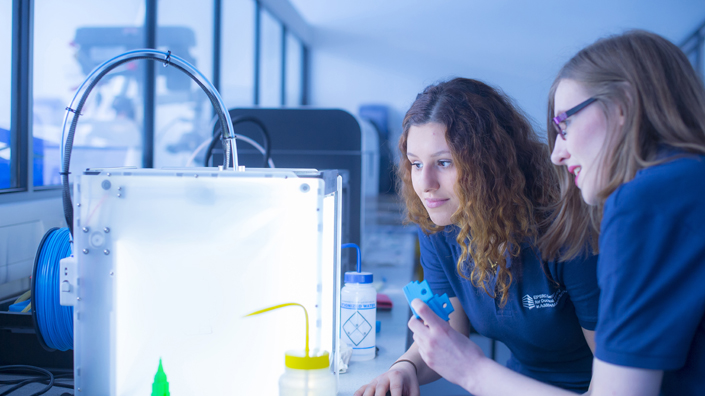
All around this lab at the University of Nottingham are other, equally fascinating, large machines for creating metals and plastics that are helping researchers make additive manufacturing better.
Some are working on multi-material printing, while in the next room one scientist is developing techniques for printed foodstuffs. The university recently announced a new technique for embedding electronic circuits in printed items. And behind a door that is tantalisingly off limits, a panel on the wall notes that the oxygen level is being monitored.
Chris Tuck grins. “I can’t take you in there,” he says. Tuck, who has short dark hair and thick-rimmed glasses, is the deputy director of Nottingham’s EPSRC Centre for Doctoral Training in Additive Manufacturing.
The lab is quieter than usual, with rolls of bubble wrap and packing tape scattered around. Soon after our visit, they’re moving into a brand-new, bigger building. Through another door, there’s a room where scientists are working on the nanoscale – but, make no mistake, additive manufacturing is a big deal.

(Credit: iStock)
In his office, off a long corridor (one of the longest in Europe, apparently), Tuck reels off an impressive list of companies that are working with the centre and its collaborators on research: GSK, BMW, and Renishaw, plus charities including Arthritis Research.
He says that additive manufacturing – which should never be confused with 3D printing – has come through the hype curve. “It’s moving out of the trough of disillusionment from the ridiculous hype that we had almost five years ago to more sensible discussions,” he says.
It’s already being used to some extent to allow manufacturers to create difficult shapes more quickly, or make items that previously would have been impossible. New techniques such as inkjet printing and laser melting are enabling ever more complex forms to be created.
But, as we move beyond simple shapes, it gets more difficult to make sure that what comes out of the printer actually conforms to the design file. If you’re printing a plastic trinket, that might not matter so much, but if it’s an injection nozzle for a jet engine, for example, it’s crucially important.
Print quality
That’s where the field of metrology comes in. As PhD student and researcher Adam Thompson says, it’s all about establishing ‘traceability’ – making sure that a shape or surface is what it’s supposed to be. “If you want to implant something in someone’s knee, you have to know very well that the surface is clean of any particles that might fall off and jam up one of your arteries,” he says. “Or, if you’re going to put it in an aircraft engine, you need to know that the structure is going to withstand high temperatures and things like that.”
In two small, adjacent labs at Nottingham, former teacher Thompson and his colleagues are developing new ways of taking these measurements, enabling complex, additively manufactured structures to be verified for ever more important applications.
The first lab is the ‘form’ lab, which is dedicated to finding new ways of verifying shapes. “Traditional technology usually involves taking a probe and touching that to your sample in a number of places, but we’ve now got these incredible complex parts where we can’t get probes in,” explains Thompson. “We need to essentially develop new methods of metrology to verify these parts.”

Shapes formed by selective laser melting (Credit: University of Nottingham)
Instead of physically probing the object, research is focusing on developing optical techniques, as Thompson and fellow researcher Vicente Rivas Santos explain. One technique involves projecting a wavy ‘fringe pattern’ of black and white onto an object. By analysing the distortions of light, a computer can work out where the part is in space, and by rotating the part on a turntable you can get a full idea of its shape.
It can take three minutes to check one part, so some researchers are looking for ways to speed up the process to enable its use in factories where thousands of parts might need to be checked. “We’ve got companies saying, ‘Hey, we want to do this instantly’,” says Thompson. Software can help. By feeding in a CAD model of the object before the process starts, the computer can minimise the number of pictures that need to be taken while still ensuring it captures the whole object.
Another approach borrows from the motion-capture technology used by movies and video games. Photogrammetry involves reconstructing an object based just on photography, computing it pixel by pixel. “It recognises the features of the object,” says Rivas Santos.
But again, there are complications – as the system tends to struggle with smooth surfaces. One researcher is working on a way to artificially texture smooth surfaces using speckled laser light, so they can be imaged and verified in this way.
'There is no truth'
Although light has the potential to be faster than physically measuring the object with a probe, it suffers from the same big problem – it can’t see inside objects. In the next room, there are X-ray machines and CT scanners which allow for imaging of some of the “crazy geometries” thrown up by additive manufacturing.
They’re also important when it comes to measuring the smoothness and texture of surfaces, as well as their shapes. Next door, in the temperature-controlled ‘surface lab,’ the research group has amassed a collection of cutting-edge technologies and machines capable of taking measurements at tiny scales. There’s scanning electron microscopy, X-ray computed tomography, coherence scanning interferometry and more. But sometimes those measurements don’t match up.
After we slip on plastic shoe covers to enter the lab, Thompson explains. “What I and some of my colleagues did was to measure the same thing using all the different technologies,” he says.
They found a vast range of differences. “Sometimes where there’s a hole we actually see a bump, and occasionally we’ve seen bumps where there’s a hole,” he says. “We often get asked, ‘What’s the truth?’,” continues Thompson, “and our answer is ‘There is no truth’ – the truth is the measurement.” They can use statistical methods to create confidence intervals for their various tools, but, at this scale, there is no way of knowing.

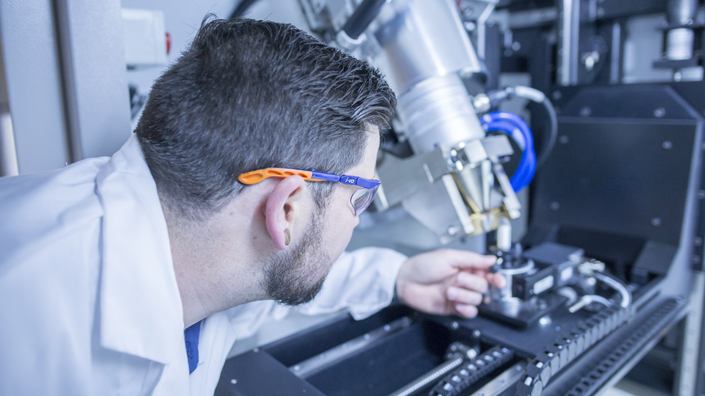
Adam Thompson (Credit: University of Nottingham)
It’s particularly problematic with additive manufacturing compared to machined surfaces, because of the irregularity involved. “Because it’s been melted we get locally very smooth areas immediately next to very rough surfaces, and usually a surface is rough or smooth,” says Thompson.
The surface quality of additive manufacturing is improving rapidly, and these tools could help make it even better. “The surface contains a fingerprint of the process, and through collaboration with the researcher we can improve that process,” says Thompson.
Live testing
According to Tuck, Thompson and others, the next stage in additive manufacturing is to be able to take these kinds of verification measurements during the printing process. That will save time on the production line, and give end users the confidence that parts which are too complex to be probed either physically or optically are the shape and texture they’re supposed to be.
“It’s very much a driver across manufacturing and engineering,” says Thompson. “If you can prove it during the process and that means you don’t have to put it in a CT scanner for eight hours at the end, fantastic.”

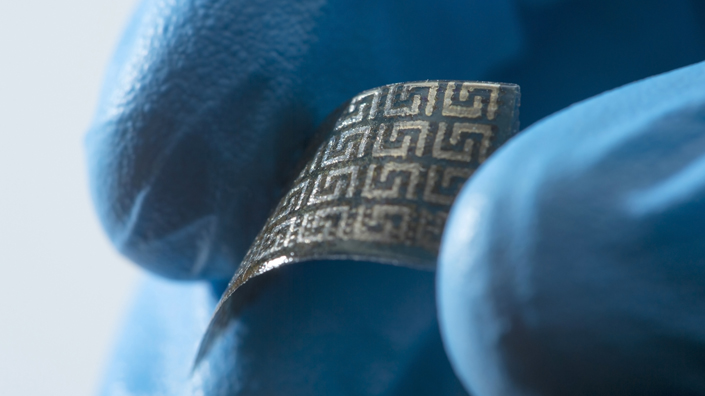
A material made by additive manufacturing (Credit: University of Nottingham)
In the surface lab, they’ve just started working on a laser-scattering system. The theory is that, during printing, you fire a laser at the surface and analyse the reflection to work out whether there’s a defect. “The aim is you can either cancel your build and start again, or you can even heal that defect.”
At Nottingham, scientists and engineers are also developing a unique technology called ‘spatially resolved acoustic spectroscopy,’ which has been incorporated into an additive manufacturing machine for the first time. A laser projects a grid of light onto the material, which sets up an acoustic wave that propagates through the material at different speeds depending on the grain structure, explains researcher Sam Catchpole-Smith, indicating a machine that looks like a large microwave oven.
It also provides an optical image of the surface, and 5-10 microns below the surface. “The idea here is to integrate this into a selective laser melting machine so you can do a layer, take a scan of the top surface, and then maybe do some repair techniques or just alert the user that something isn’t right,” says Catchpole-
Smith.
“At the moment, if a build starts to fail, the feedback systems basically say, ‘Something’s not right, scrap the build’. With something like this that scans in
situ, you won’t have to scrap the build, and that’s really where the cost saving comes in.”
Additive manufacturing has huge potential but, if it’s going to be used in critical applications, it needs to be accurate.
It may not be there yet but, thanks to innovative technologies, it’s improving fast – one layer at a time.
Content published by Professional Engineering does not necessarily represent the views of the Institution of Mechanical Engineers.